Materials
and Process
Printmaking has become a grounding and transformative medium in my practice. After many years working primarily in oil painting, a move to the Queensland Coast sparked a shift, both in environment and creative direction. Inspired by the layered watercolour beauty of Japanese woodblock prints, I began exploring linocut. It was reduction printmaking, with its challenge of building a narrative from a single matrix, that truly captured me. The process offers endless opportunities for experimentation, and each limited-edition print becomes its own unique narrative.
This is why I love being a printmaker.

My creative process begins with sketching—capturing inspirations drawn from everyday surroundings, moments throughout my travels, and personal memories. These sketches are visual reflections of identity and connection, laying the foundation for the stories each print will tell.

While creating a print—often using more than 20 to 30 colours—I carefully document each layer of colour and the exact order in which they’re applied. Artist Proof prints serve as experimental pieces, capturing the evolution of the work and the nuances of the process.
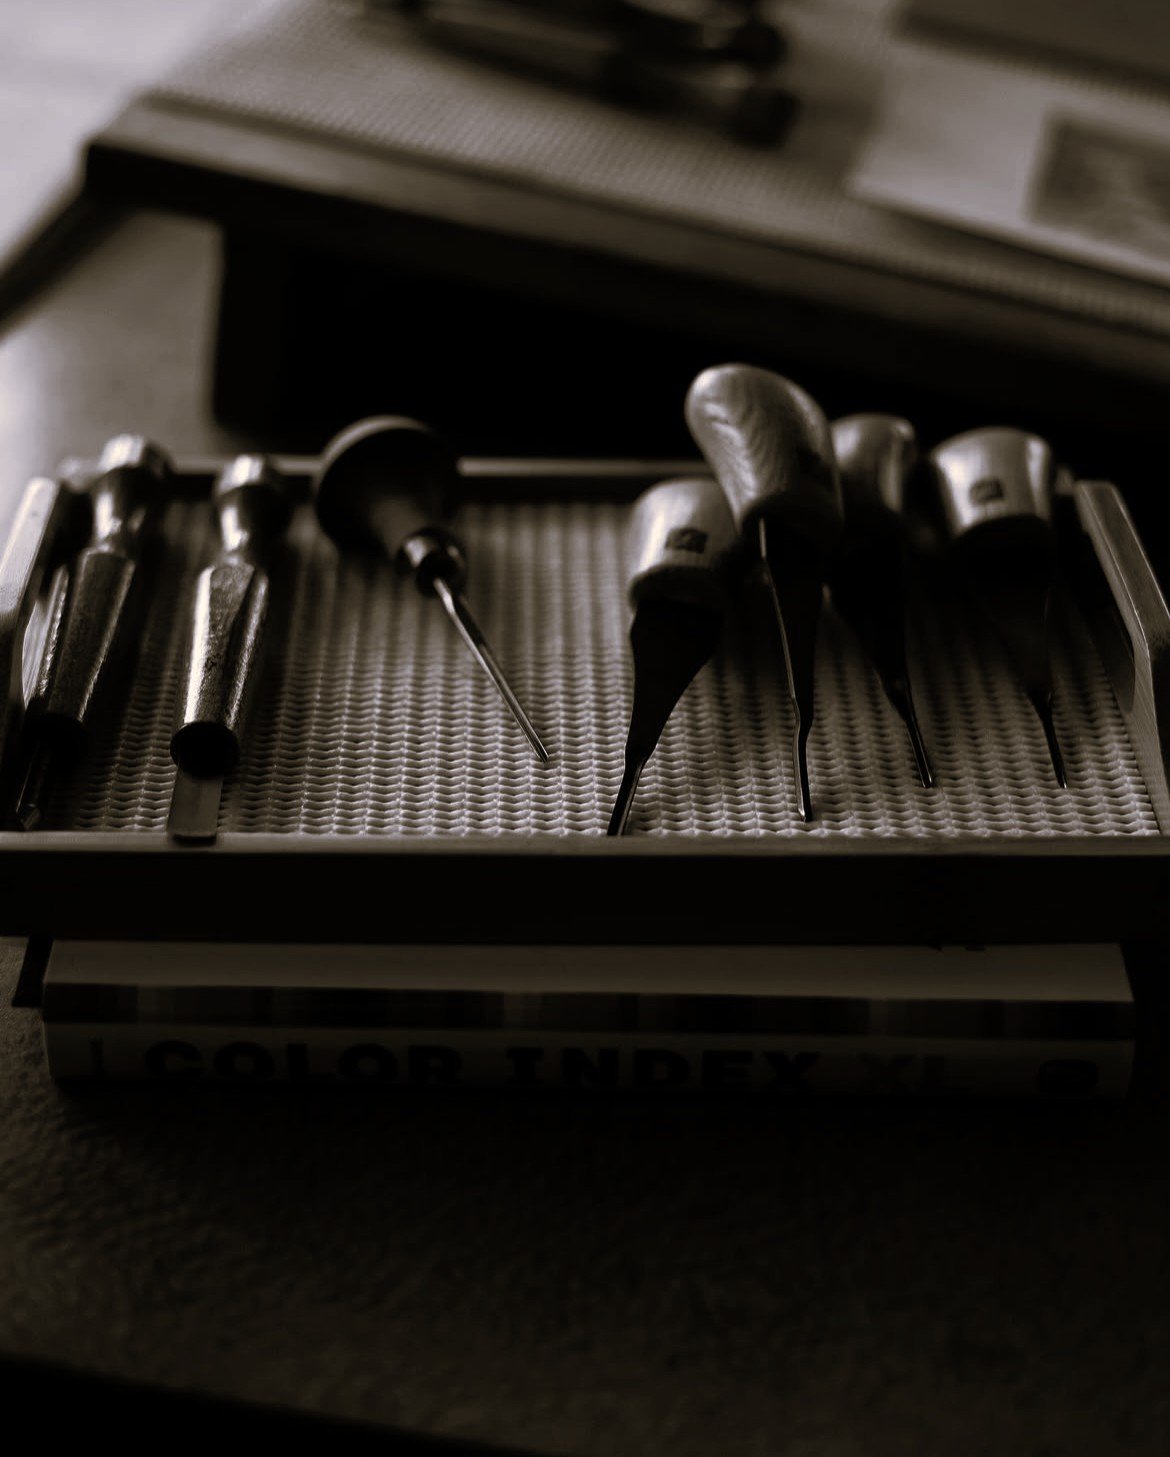
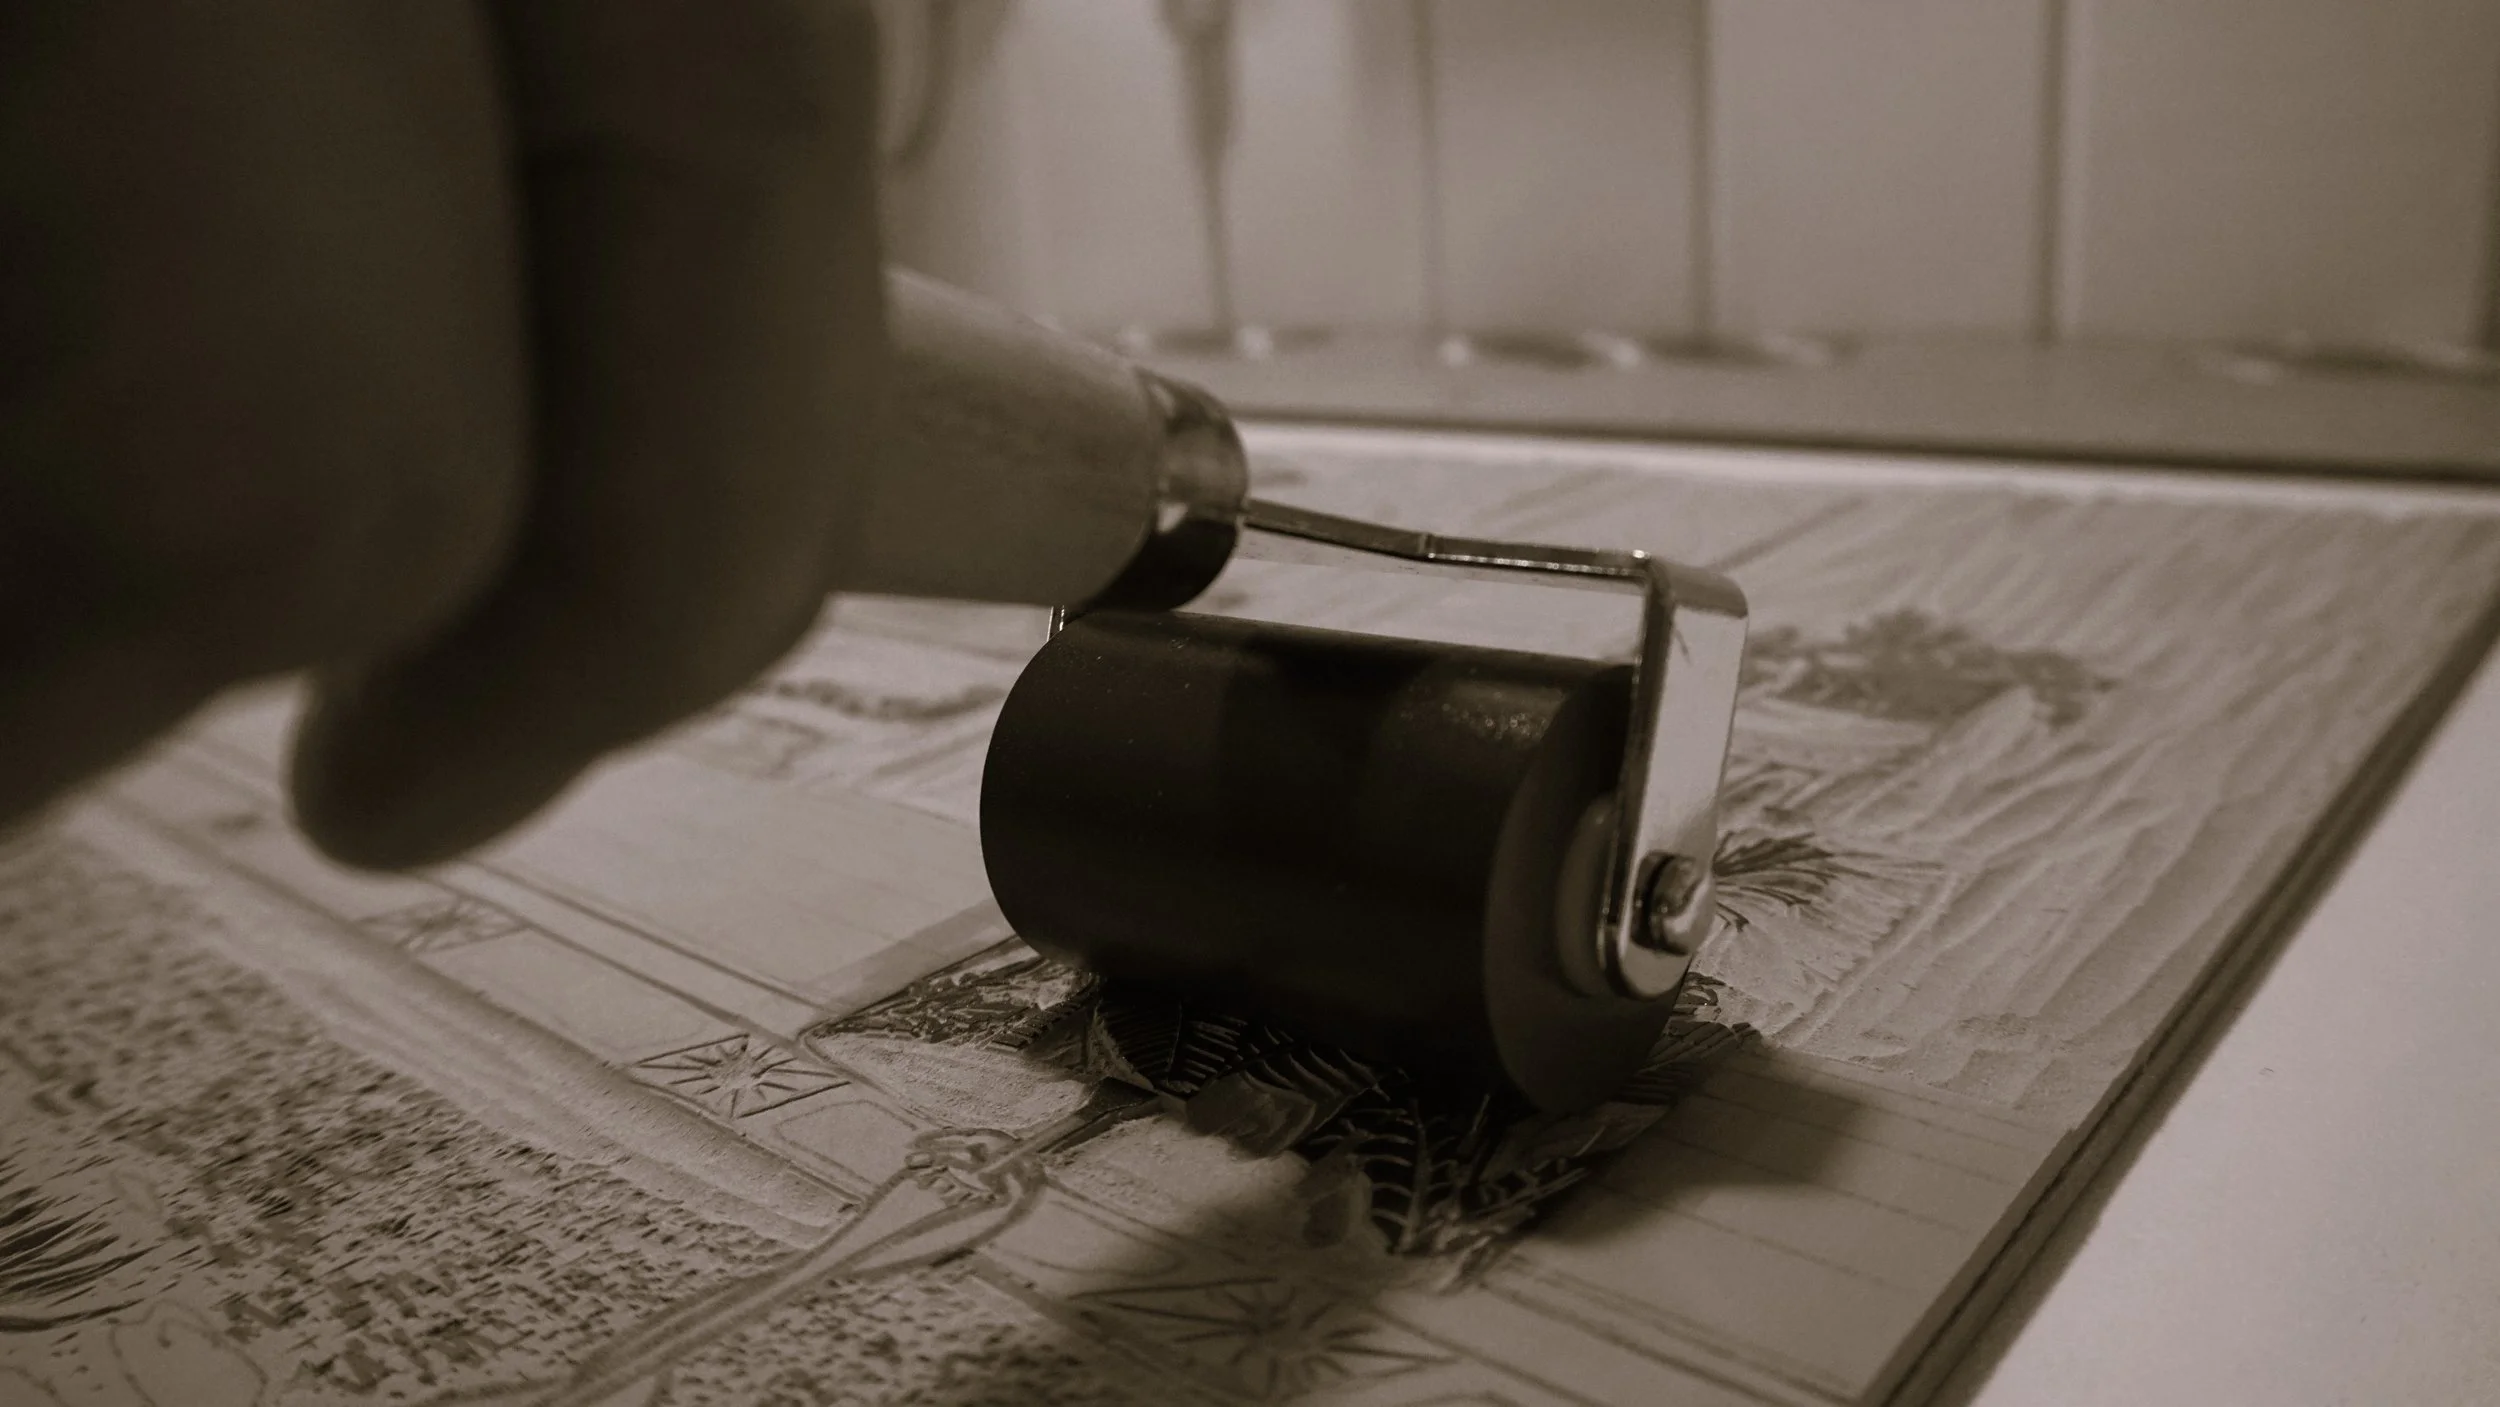
For reduction printmaking, I primarily work with silk lino—it’s easier to carve and stands up well to both hand-pulling and press work. My cutting tools vary in size and blade shape, though I consistently reach for trusted brands like Power Grip, Pfeil, and Flexicut. When it comes to brayers, having a range of sizes is essential, especially when layering multiple colours in a single print run. I rely on Essdee Blue-handle brayers and Hwahong soft rollers. In my studio, there’s no such thing as too many brayers.

Before investing in my etching press, I designed a custom registration system using off-cut timber—a practical and resourceful solution that I still rely on for smaller works. For precise alignment across print layers, I use Ternes Burton pins and registration tabs sourced from the U.S. Their reliability ensures each layer lands exactly where it should, maintaining the integrity of the final image
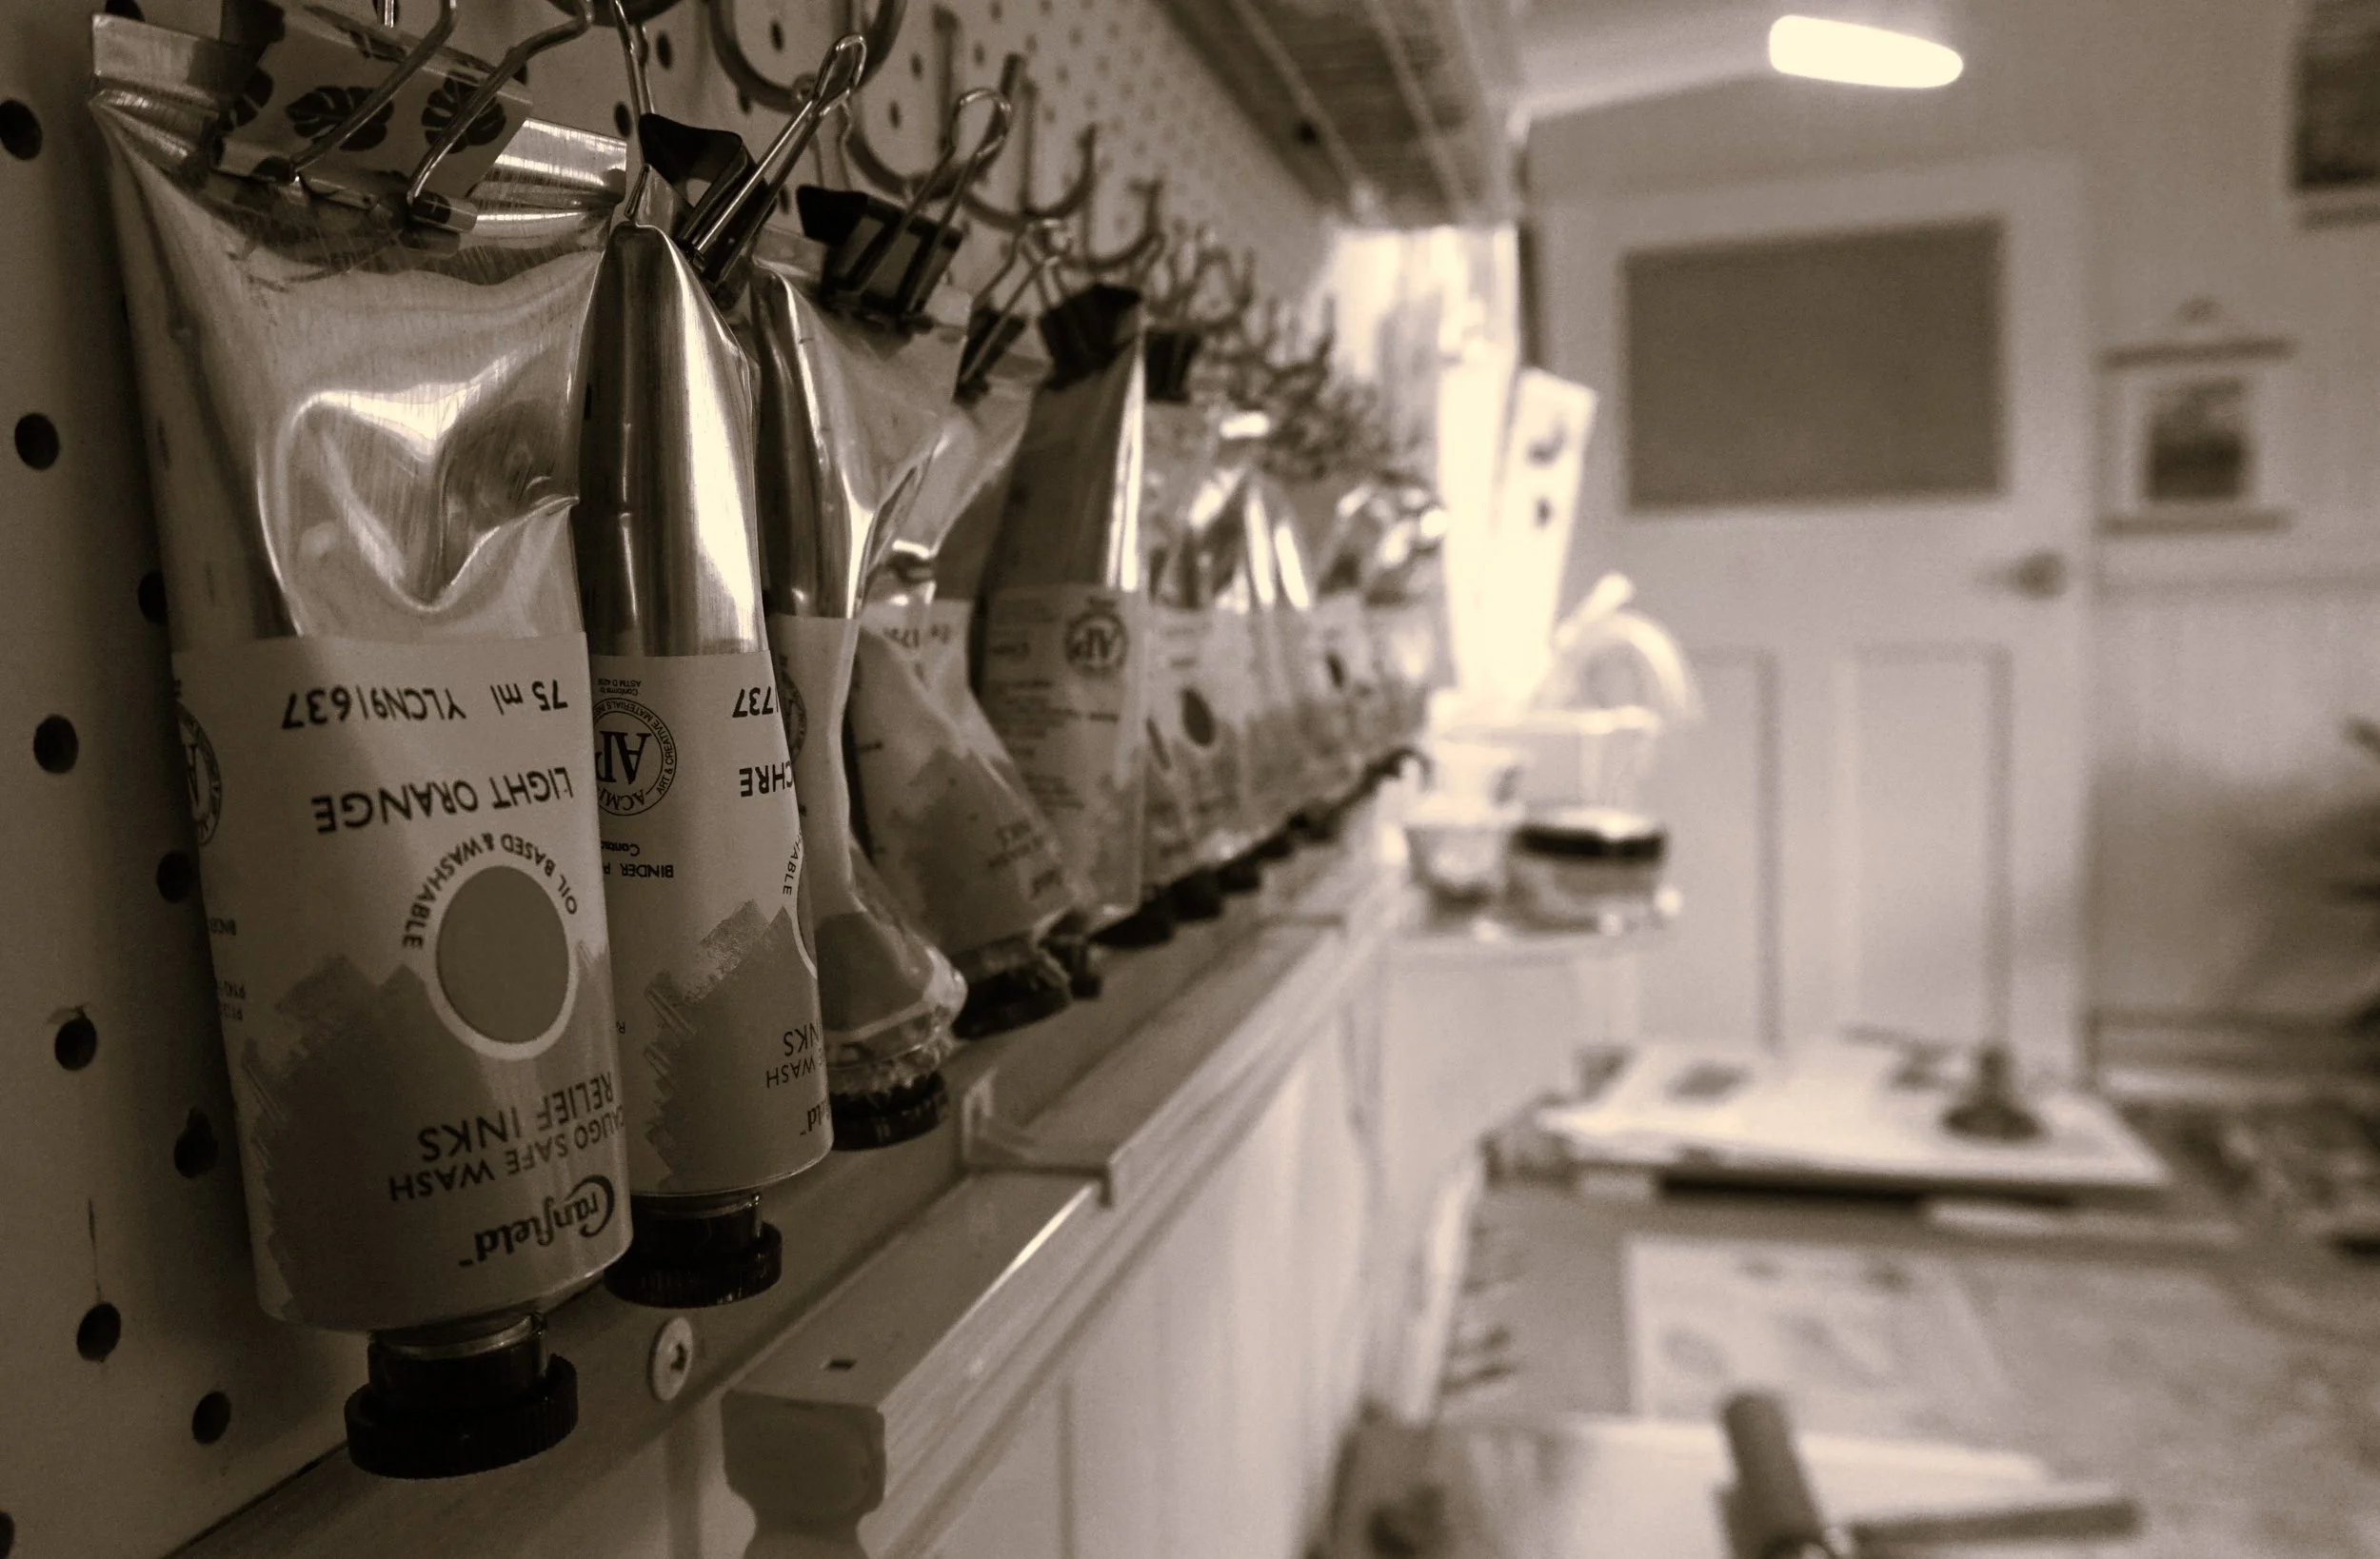
My preferred printmaking inks are Cranfield Caligo Safe Wash oil-based inks and extender. I use both the relief and etching ranges from this brand, appreciating their rich pigment and consistent quality. One of the key benefits is the ease of cleanup—making studio practice more efficient without compromising results. When needed, I add a touch of Cobalt Drier to accelerate the drying process.
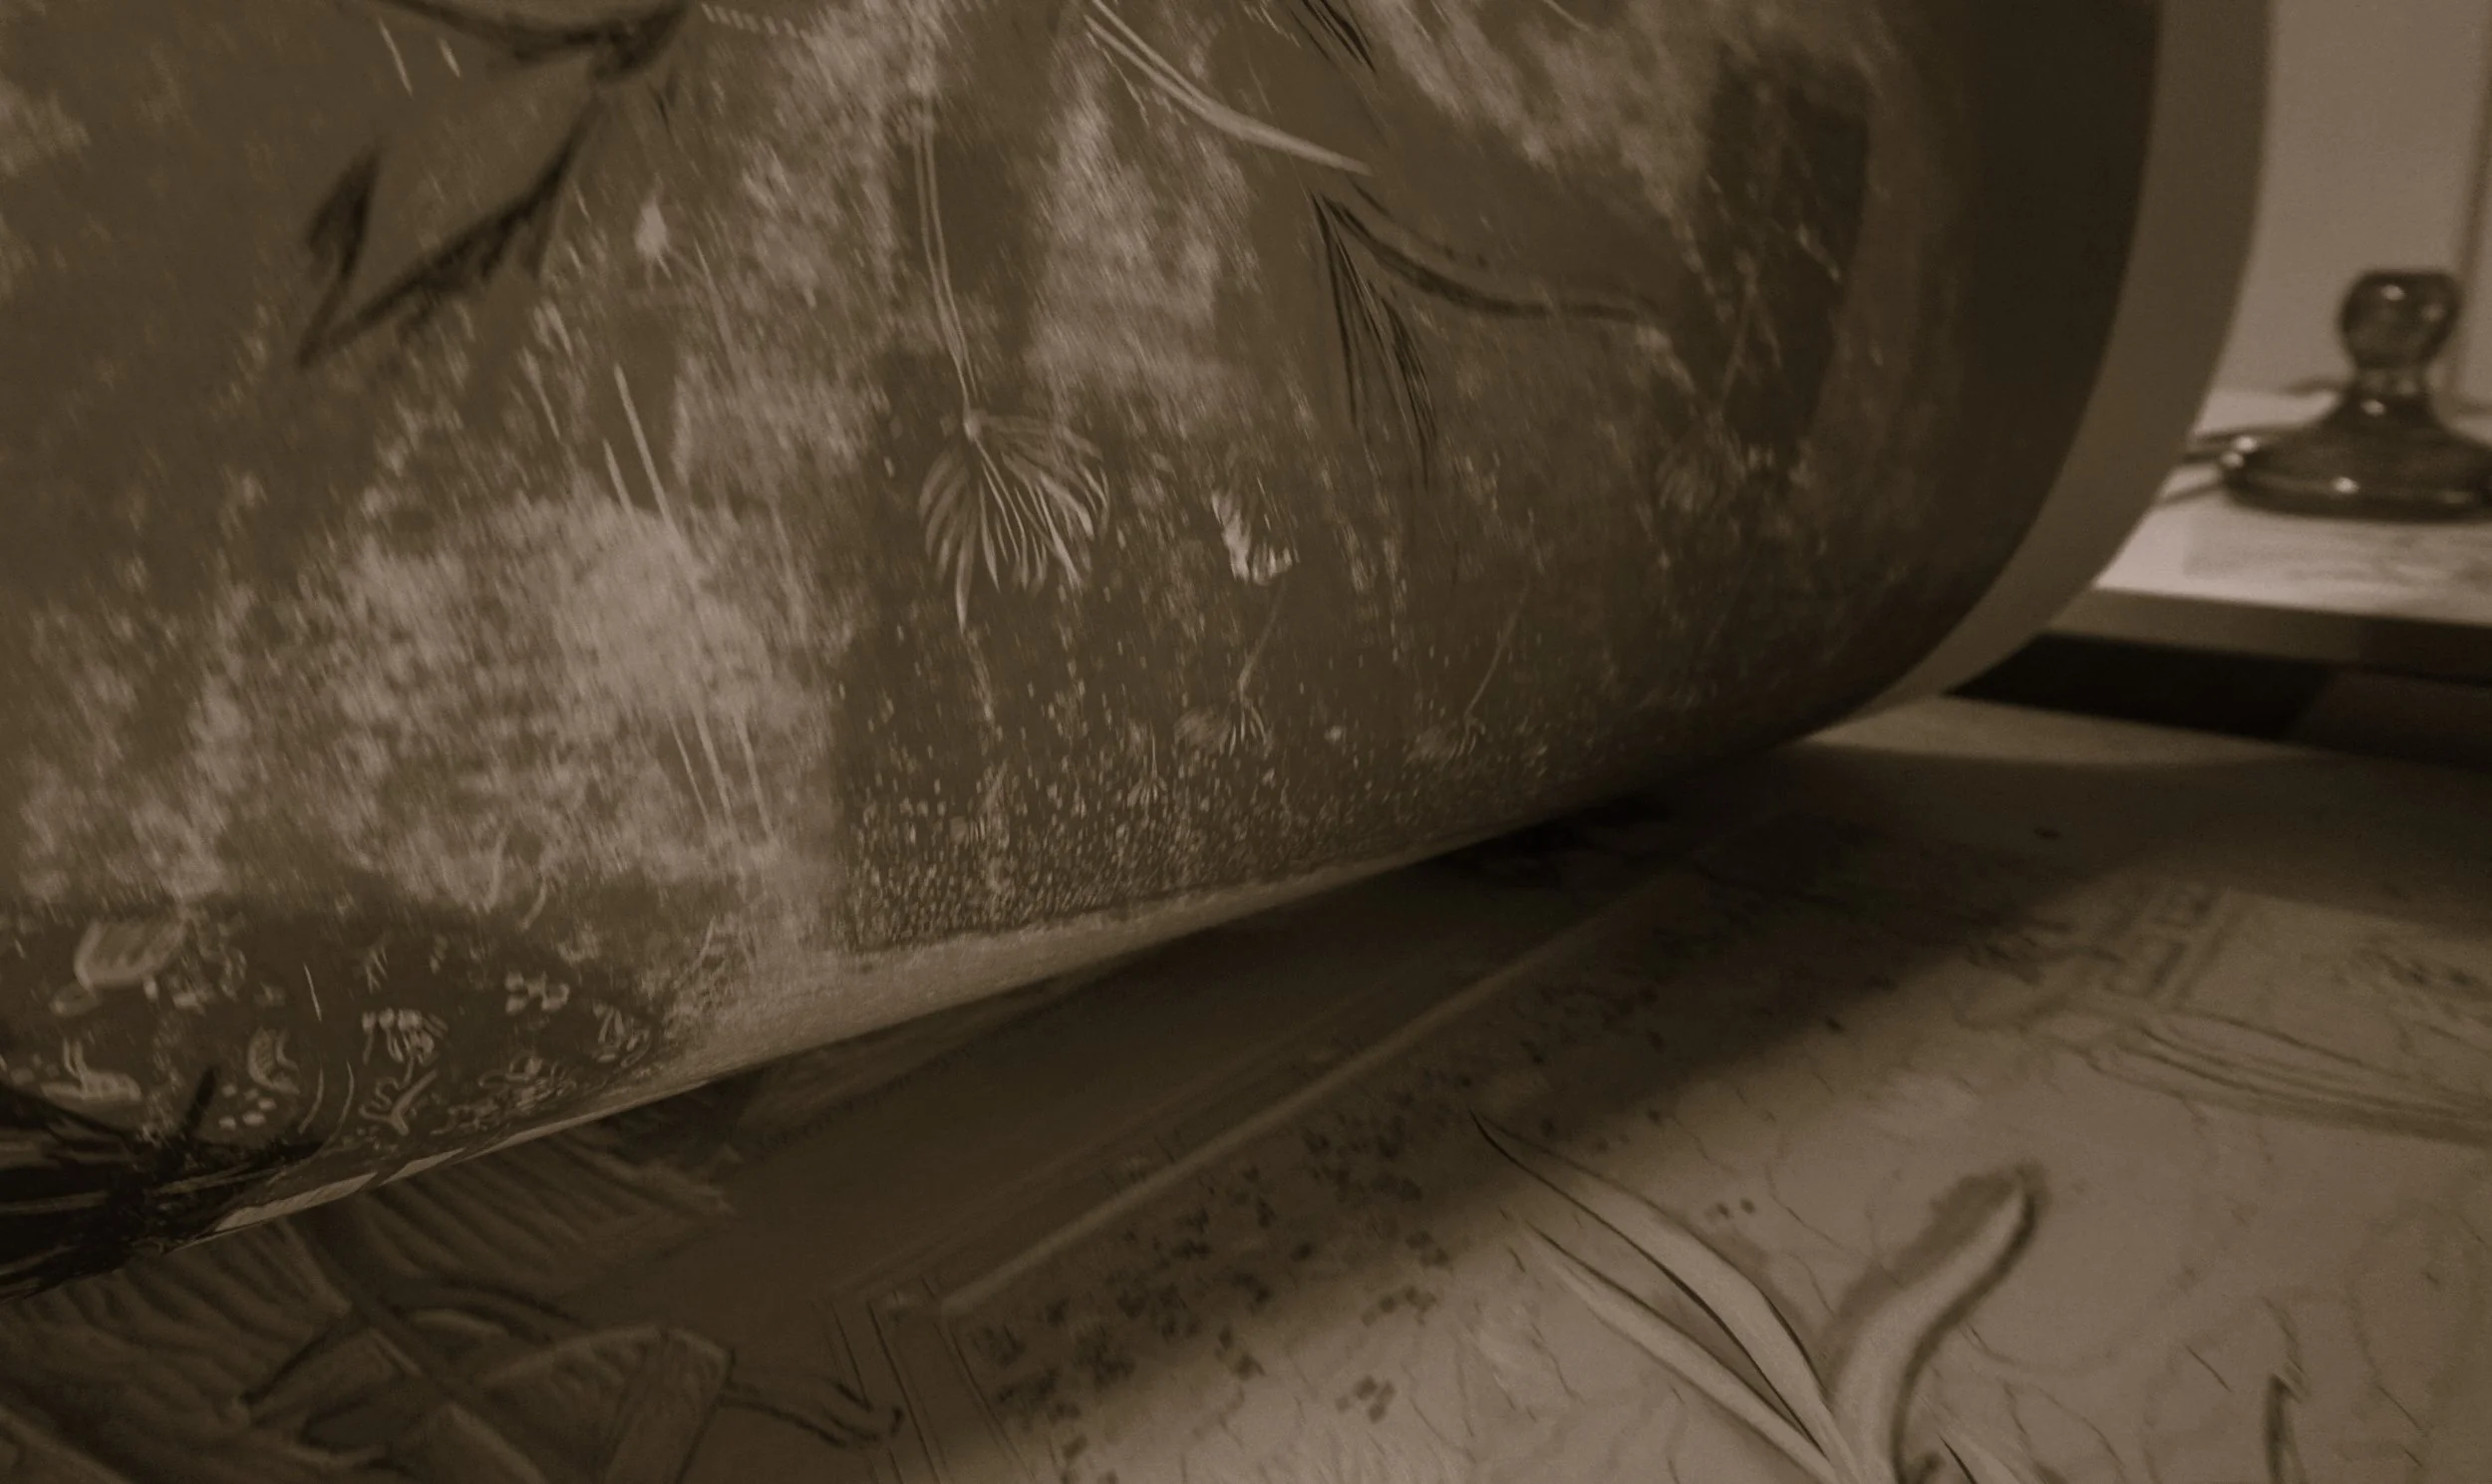
For relief printmaking, I favour Arches 88 and a curated selection of Awagami papers. Their smooth surface and robust fibres withstand the repeated layering involved in reduction techniques, holding up beautifully under pressure. For Intaglio work, I turn to Arches Velin BFK Rives and Hahnemühle etching papers, known for their strength and rich texture. Choosing high-quality, archival papers is essential—not just for durability, but to honour the integrity of each finished piece.
